
The FACT Viewer
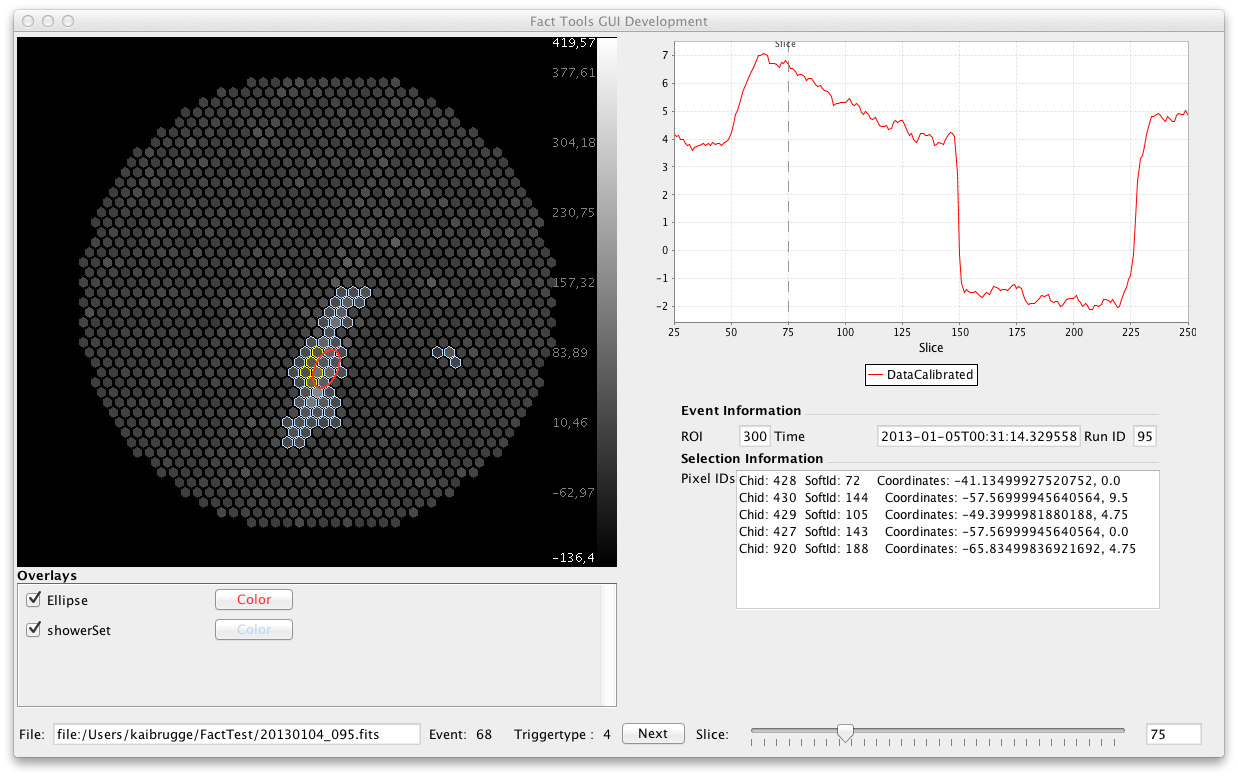
One of the most important components of the FACT tools is the Graphical User Interface simply called the viewer. It allows you to get a quick overview of the data in each event. The following picture shows a screenshot of the FactViewer:
For more information on how you can display your specific data in the viewer see the progamming examples about the viewer.
Running the Viewer
The viewer part of the fact-tools .jar but it can be called just like any other Processor by calling
<fact.ShowViewer key="DataCalibrated" range="25,250"/>
Using the Viewer
Using the viewer is rather simple. Pixels on the camera hex map can be selected by mouse click. By holding the Shift-Key, pixels can be added/removed to/from the current selection. Some information like the Id and the coordinates of the selected Pixels will be displayed next to the camera view. You can switch between different selection modes by right-clicking on the camera view. Below the camera view a list of displayable overlays is being shown. You can select which overlays you want to display and what color they should have.
By clicking on Window -> Plot Window you can see the signal in the selected pixels.
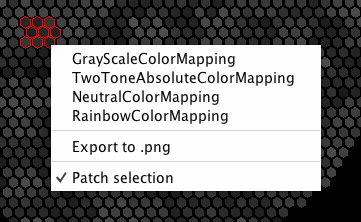
By right-clicking the camera image you can select between different color schemes or export the camera image as a .png file.